Introduction: A Moment in Time
As the sun set on the vast, unforgiving Egyptian desert on October 23, 1942, a deceptive calm settled over the arid landscape. But this was merely the prelude to a storm of fire and steel that would not only decide the fate of North Africa but also mark a pivotal turning point in the Second World War. On this day, under the cover of darkness, the British Eighth Army, under the command of the determined Lieutenant-General Bernard Montgomery, unleashed a devastating artillery barrage, signaling the commencement of the Second Battle of El Alamein. This was not just another battle; it was a meticulously planned offensive designed to shatter the Axis forces of German Field Marshal Erwin Rommel, the celebrated "Desert Fox," and irrevocably shift the momentum of the war in favor of the Allies. Winston Churchill would later famously remark, "Before Alamein we never had a victory. After Alamein we never had a defeat." This is the story of that momentous day and the brutal, decisive battle that followed.
The Build-Up: What Led to This Day?
The conflict in North Africa had been a see-saw of advances and retreats since Italy's invasion of Egypt in 1940. The arrival of Germany's elite Afrika Korps under the brilliant leadership of Erwin Rommel in early 1941 dramatically escalated the conflict. Rommel's tactical genius and mastery of desert warfare earned him the moniker "Desert Fox" and a string of startling victories against the British. By the summer of 1942, the Axis forces had pushed deep into Egypt, threatening the vital Suez Canal and the oil fields of the Middle East. The British and their Commonwealth allies were on the brink of a catastrophic defeat.
The tide began to turn with the First Battle of El Alamein in July 1942, where the British, under General Claude Auchinleck, managed to halt Rommel's advance. This crucial defensive stand created a stalemate and bought the Allies precious time to regroup and reinforce. The strategic importance of the El Alamein line lay in its geography; it was a 40-mile stretch of land between the Mediterranean coast and the impassable Qattara Depression, a vast salt marsh that prevented any outflanking maneuvers. Frustrated with the lack of a decisive victory, Winston Churchill made sweeping changes to the British command in August 1942. General Sir Harold Alexander was appointed Commander-in-Chief of the Middle East, and the tenacious, methodical Lieutenant-General Bernard Montgomery was given command of the Eighth Army.
Montgomery, or "Monty" as he was known, was a stark contrast to his predecessors. He was cautious, meticulous, and insisted on amassing overwhelming superiority in men and material before committing to an offensive. He focused on rebuilding the morale of his troops, famously declaring, "I will not lose a battle." Meanwhile, the Axis forces were stretched to their breaking point. Rommel's supply lines were long and constantly harassed by Allied air and naval power. He was short on fuel, ammunition, and tanks. Compounding these issues, Rommel himself was suffering from illness and had returned to Germany for treatment, leaving General Georg Stumme in temporary command. It was against this backdrop of Allied resurgence and Axis vulnerability that Montgomery finalized his plan for a decisive blow: Operation Lightfoot.
The Event Itself
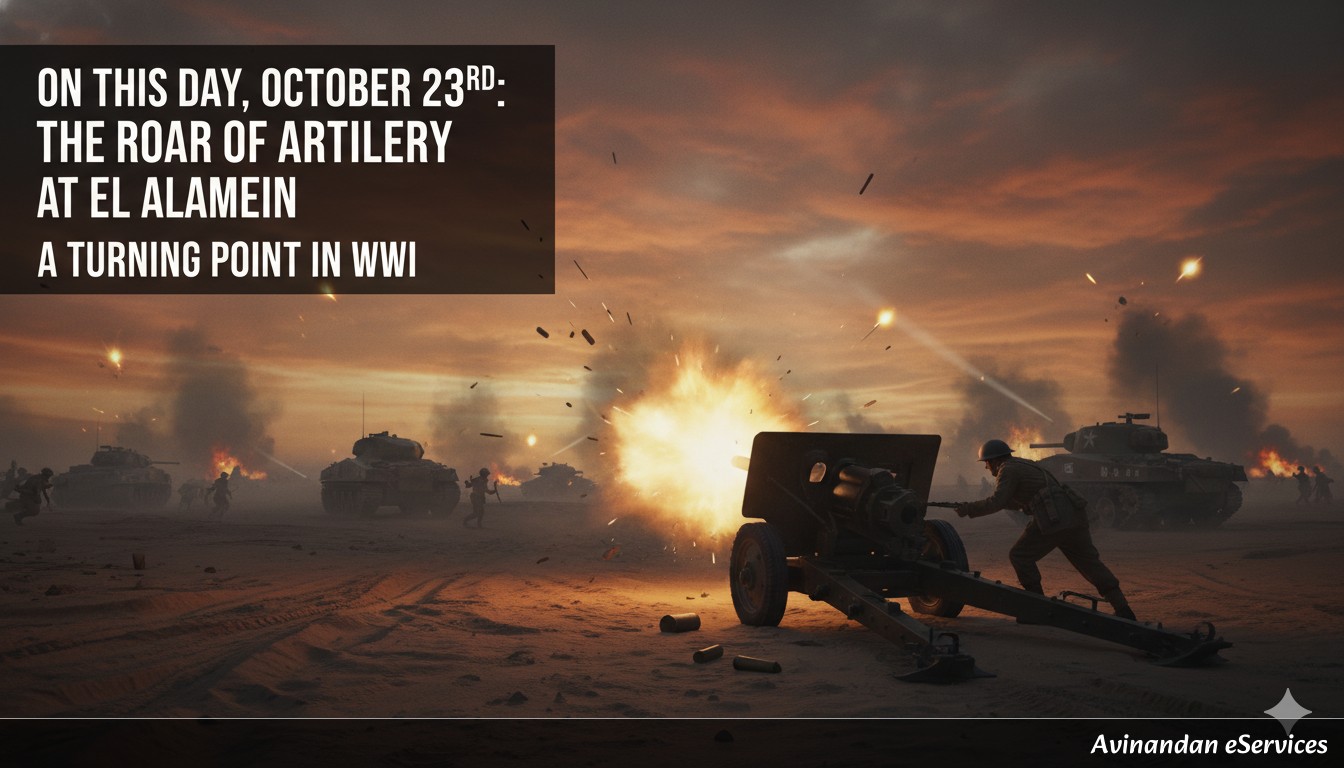
At 9:40 PM on the night of October 23, 1942, the desert erupted in a cataclysmic display of firepower. Over 800 Allied guns opened up simultaneously, their shells screaming across the moonlit landscape to pound the entrenched German and Italian positions. The sheer scale of the barrage was unprecedented in the desert war, a thunderous announcement that the tide was about to turn. This was the beginning of Operation Lightfoot. The name was a grim irony; the plan called for the infantry to advance first, as their weight would not detonate the anti-tank mines that littered the \textensive "Devil's Gardens," as Rommel called his minefields.
Following the creeping barrage, infantry from the British XXX Corps, which included British, Australian, New Zealander, and South African troops, moved forward into the northern sector of the front. Their harrowing task was to clear two corridors through the deep minefields, a painstakingly slow and dangerous process under constant enemy fire. The goal was to create a path for the armored divisions of X Corps to pour through and engage the German Panzer divisions. Simultaneously, in the south, the XIII Corps launched a secondary attack to pin down Axis reserves and prevent them from reinforcing the north.
The fighting on that first night and the following days was brutal and chaotic. The dust kicked up by the explosions and moving vehicles, combined with the darkness, created a disorienting environment. The German and Italian defenders, though initially stunned by the ferocity of the assault, recovered quickly and fought back with tenacity. The advance was slower and more costly than Montgomery had anticipated. The minefields proved to be a formidable obstacle, and the British armor struggled to break through into the open desert. The Axis forces mounted spirited counterattacks, and for a while, it seemed as though Montgomery's grand offensive might stall. Adding to the German woes, General Stumme died of a heart attack on the second day of the battle, leaving the Axis forces temporarily leaderless until Rommel's rushed return on October 25th. Despite his presence, the relentless pressure from the Eighth Army, combined with their overwhelming superiority in the air, continued to grind down the Axis defenses.
The Aftermath and Legacy
The Second Battle of El Alamein was a grueling battle of attrition that lasted for nearly two weeks. After the initial phase of Operation Lightfoot, Montgomery methodically wore down the Axis forces. He regrouped his forces and launched a final, decisive attack codenamed Operation Supercharge on the night of November 1-2. This concentrated assault finally punched a hole in the exhausted Axis lines. On November 4th, British armored divisions broke through into open country. With his army on the verge of collapse and lacking the fuel to maneuver his remaining tanks, Rommel had no choice but to order a retreat, defying a direct order from Hitler to stand and fight to the last man.
The victory at El Alamein was a resounding one for the Allies, but it came at a heavy cost. The British Eighth Army suffered over 13,500 casualties, including killed, wounded, and missing. However, the losses for the Axis were catastrophic. They suffered tens of thousands of casualties, and the bulk of their army, particularly the Italian infantry divisions who lacked transport, were captured. Rommel's vaunted Panzer Army Africa was shattered as a fighting force.
The strategic consequences of El Alamein were immense. It was the first major land victory for the Western Allies against the Germans and a massive boost to morale on the British home front. It permanently ended the Axis threat to Egypt, the Suez Canal, and the Middle Eastern oil fields. The victory coincided with the Allied landings in French North Africa (Operation Torch) on November 8th, placing the remaining Axis forces in a pincer movement that would ultimately lead to their complete expulsion from Africa by May 1943. El Alamein established the reputation of General Montgomery as a national hero and proved that the German army was not invincible. While the titanic struggles on the Eastern Front were on a far grander scale, the victory at El Alamein was, in Churchill's famous words, "the end of the beginning." It was the moment the tide of the war began to turn decisively in favor of the Allies, a hard-won victory that began with the deafening roar of artillery in the Egyptian desert on October 23rd.
References
- National Army Museum. (n.d.). Second Battle of El Alamein. Retrieved from https://www.nam.ac.uk/explore/second-battle-el-alamein
- Britannica. (n.d.). Battles of El-Alamein. Retrieved from https://www.britannica.com/event/Battles-of-El-Alamein
- World History Encyclopedia. (2022, August 12). Second Battle of El Alamein. Retrieved from https://www.worldhistory.org/article/2056/second-battle-of-el-alamein/
- Imperial War Museums. (n.d.). How the Second Battle of El Alamein was won. Retrieved from https://www.iwm.org.uk/history/how-the-second-battle-of-el-alamein-was-won
- ThoughtCo. (2020, February 3). World War II: Second Battle of El Alamein. Retrieved from https://www.thoughtco.com/second-battle-of-el-alamein-2361476